100 Days of PowerBuilder – Tutorial – Day 8 – Adding a Menu
This is part of my project ‘100 Days of PowerBuilder’ which is a series of discussions focused on basic PowerBuilder development.
Note: This article is written with examples created in PowerBuilder 2019 R3. Most steps/examples will be identical with any version going back to 9.
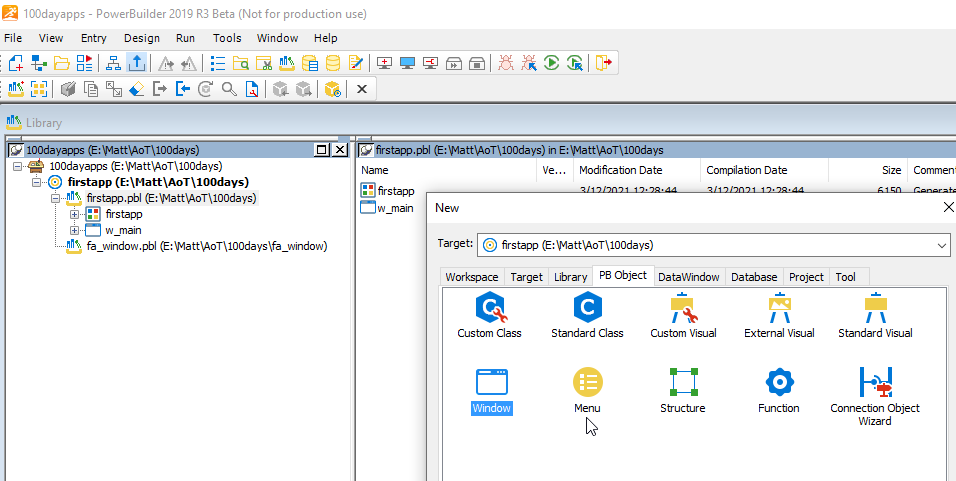
Let’s take a look at menus. We will create a simple menu for our main application window created earlier. Choose File – New – PB Object – Menu then click OK.
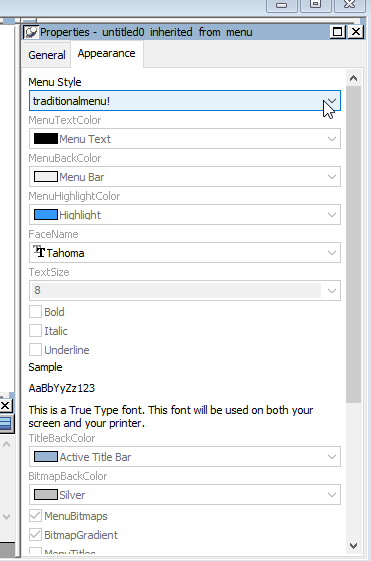
Now you have your newly created menu object called ‘untitled0’. Notice the Menu Style on the Appearance tab of the Properties is ‘traditionalmenu!’; change this to contemporarymenu! to open up the various other options.
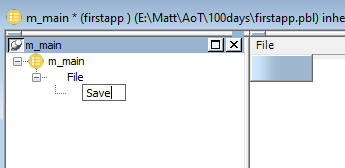
Now save the menu to the ‘firstapp’ pbl as m_main.

Right click on the ‘m_main’ menu item and choose Insert Submenu Item; give it the name ‘File’.

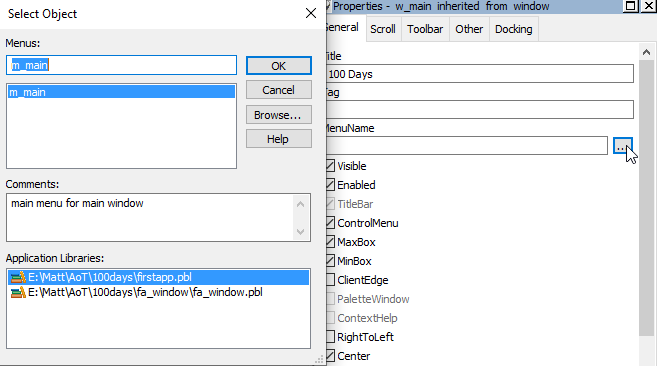
Then save the menu. Now associate the menu with the main window of the application by opening the w_main object and clicking on the elipsis button next to the MenuName property.
Now save the window and run the application. You should see the menu:
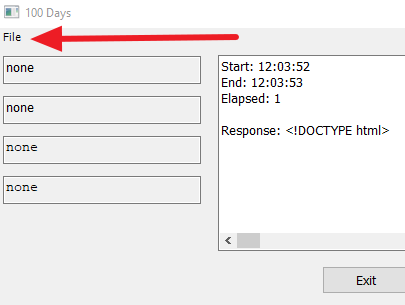
Now granted the menu doesn’t do anything at all now but at least we know we have correctly associated it with the window. Go back and open the menu painter. Right click on the ‘File’ menu item and choose Insert Submenu Item. Give it the name ‘Save’. Once the control loses focus notice the visual example and the Name property are changed to reflect the menu item text.

Now associate a menu icon with this option by clicking on the elipsis button next to MenuImage.

Then choosing PB menu or toolbar icons
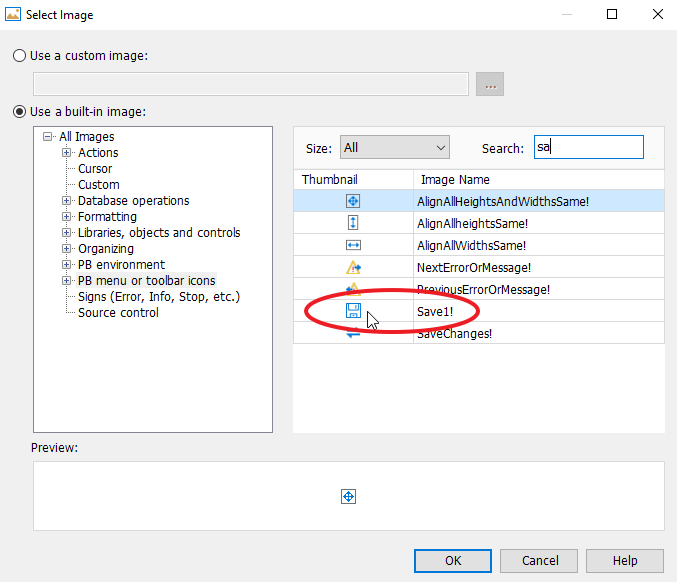
Search for ‘Save’ and then select the Save1! image, click OK, then save the menu. Open the w_main window again and add an event called ‘we_save’ and insert the following:
// save the window then exit.
//
//insert save checking logic
close(THIS)
Save the window and go back the the menu. In the clicked event of the Save menu option place the following:
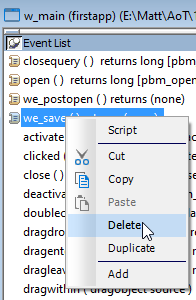
parentwindow.triggerevent "we_save"Now run the application. From the main menu click on ‘File’ and then ‘Save’. You should be prompted for closing the window (same functionality as from the earlier window example). Now reopen the w_main window, go to the event list and delete the ‘we_save’ event and then save the window.
Now run the application and choose Save from the File menu. Nothing should happen now. This shows how the triggerevent method on menus can be used to create generic functionality. Non existing events can be triggered in PowerScript without the application crashing as would be the case of a function call.
Using Menu Methods
I consider it best practice to use menus primarily to trigger events on their parent windows. Although menus can have their own methods to do whatever processing is desired, I don’t believe there are any compelling reasons to architect an application this way
![]()
Leave a Reply