100 Days of PowerBuilder – Tutorial – Day 6 – Adding Controls to a Form
This is part of my project ‘100 Days of PowerBuilder’ which is a series of discussions focused on basic PowerBuilder development.
Note: This article is written with examples created in PowerBuilder 2019 R3. Most steps/examples will be identical with any version going back to 9.
Lets add some additional controls to our main form and check out some of the functionality of the PowerBuilder IDE. Once you have opened the main window object, choose Insert – Control from the menu.
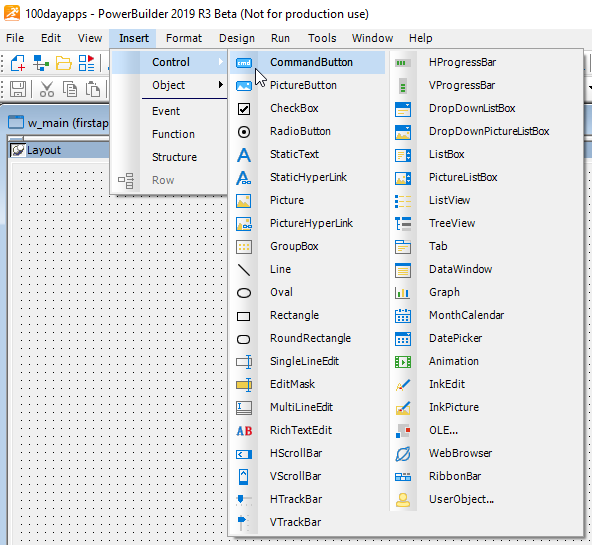
Now I’m sure there is some sort of organizational structure behind how the entries here are listed but I haven’t taken the time to figure it out. You can also click on the down arrow icon next to the control icon on the toolbar.

The icons within the red rectangle are the controls you can choose from. Like many places in the IDE, the toolbar icon will take on the image from the last control chosen. Each of the controls is assigned a default name when it is placed on the form. The name consists of a defalt prefix and a sequence number. You can control the prefix from within the Options dialog (menu option ‘Design – Options’). When opening this dialog you are brought to the ‘General’ tab.

Here you can control the alignment grid (which appears on the window control) and whether controls default to a ‘3D’ appearance.
The prefixes are found on the next two tabs.
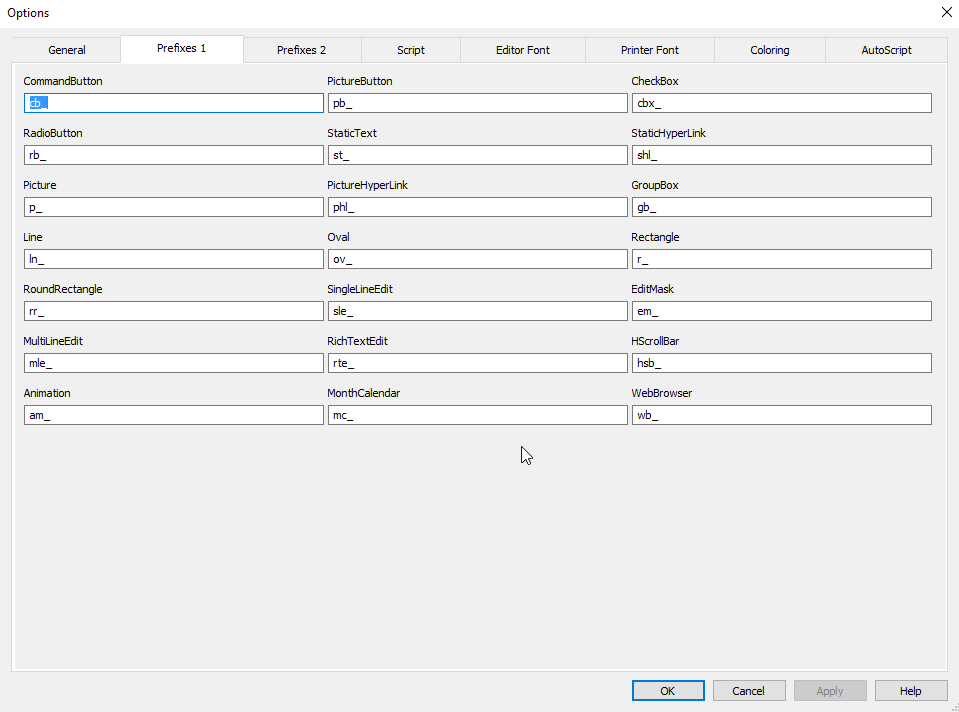

You can change these as you wish but each control must have a unique name when placed on a form within the IDE.

The Script tab defines some script editor behavior (auto indent, dashes) and controls what type of messages appear when the script is compiled (when saved or when you leave the particular script). The Event and Function List Order controls how these lists appear in the editor.
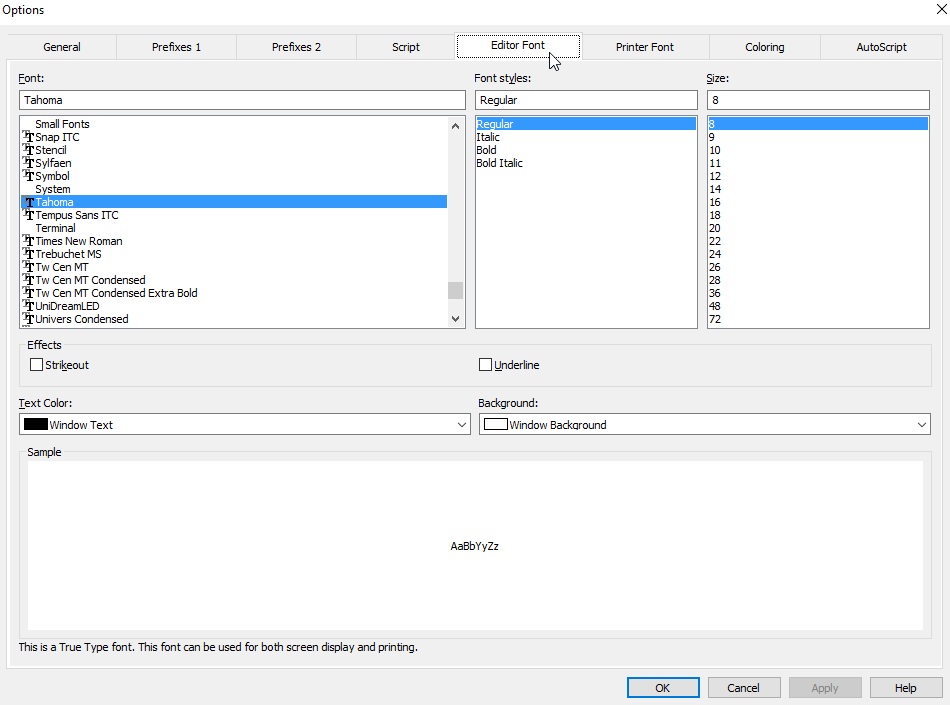
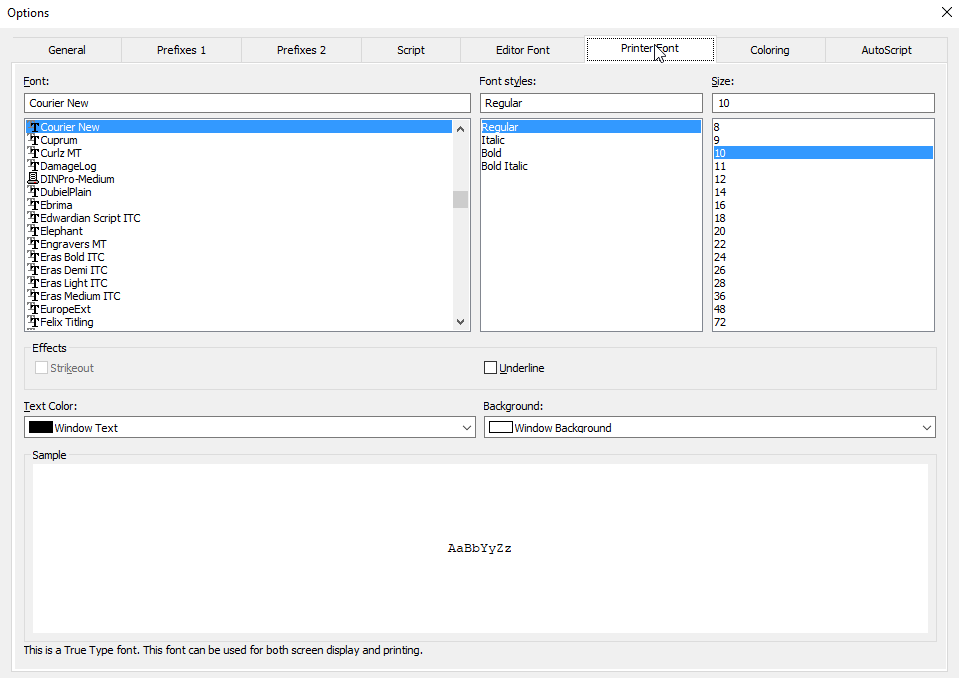
These tabs control the fonts within the script editor and when you choose to print out a script or control. Obviously some are more appropriate than others and are affected by the screen resolution of your monitor.
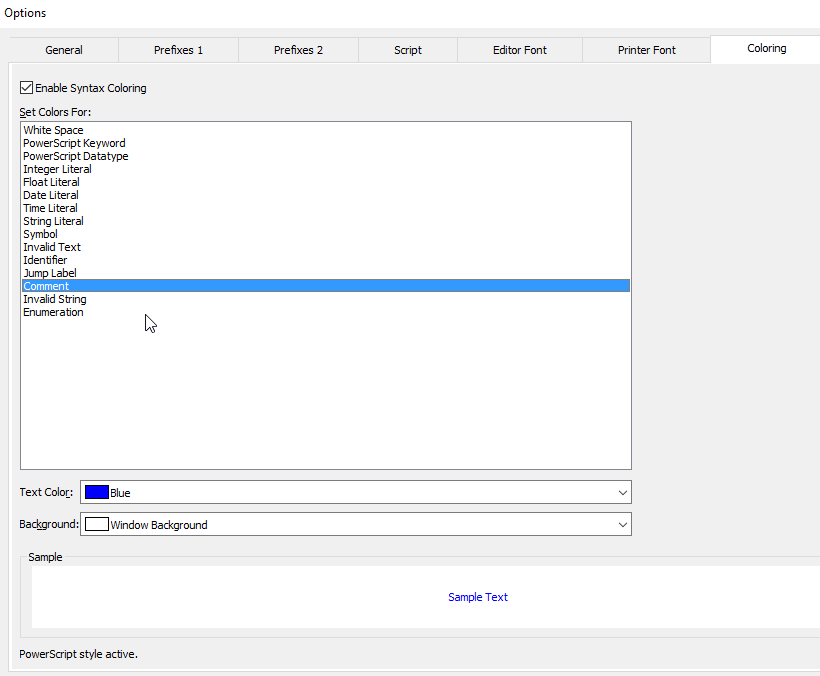
Coloring refers to how various statements, keywords, and etc. appear in the editor.
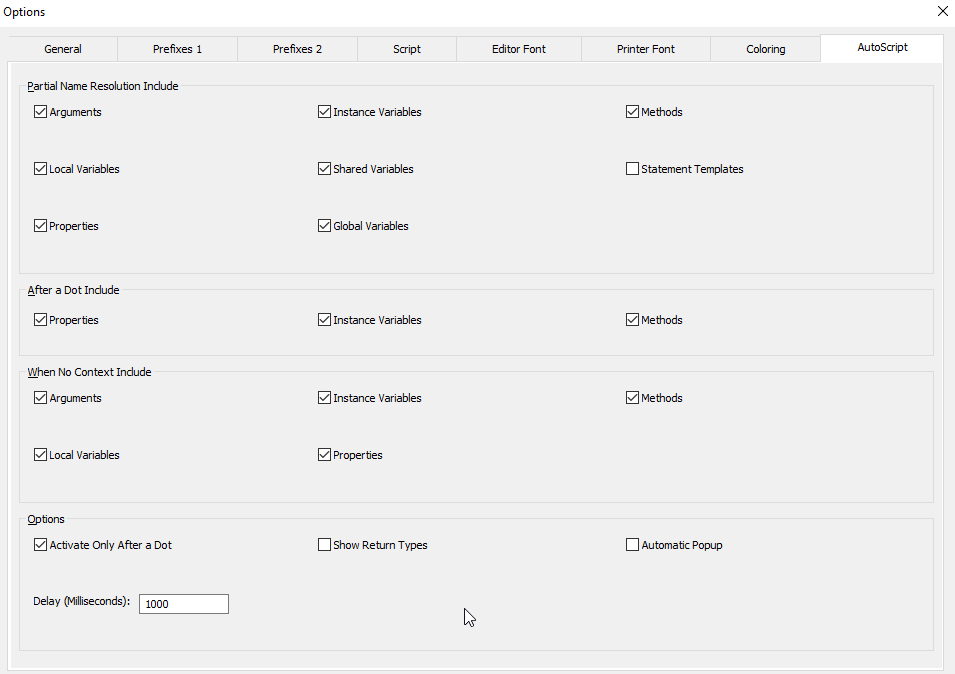
AutoScript is similar to Microsoft’s Intellisense where the IDE ‘guesses’ at what you are doing based on what you type in. You will need ot experiment with this to get the optimal settings for your style of programming.
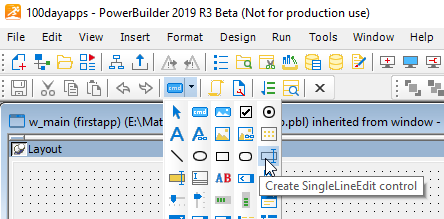
So now select a SingleLineEdit (SLE) control to drop on your form.
Drop a couple more for a total of three.
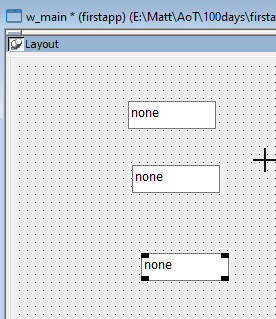
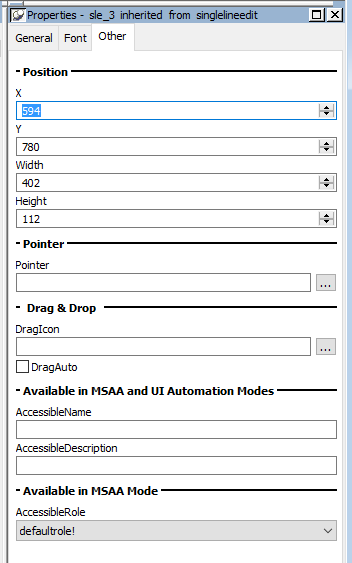
The last control is ‘selected’ since it has four ‘handles’ in its corners. When an object is selected the Properties window shows information about it. Each type of object will have differing properties.
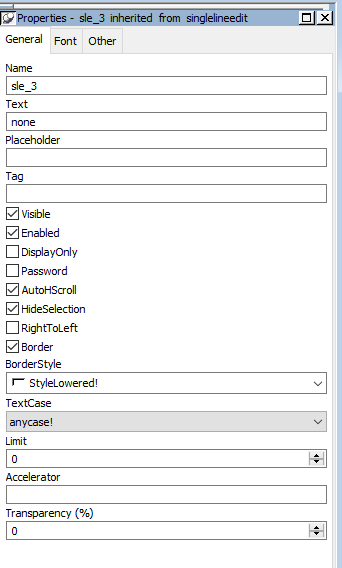
The Font tab is used to set typeface related properties of the control. Note that if you change the TextSize the size of the control does not change; you will have to adjust it yourself.
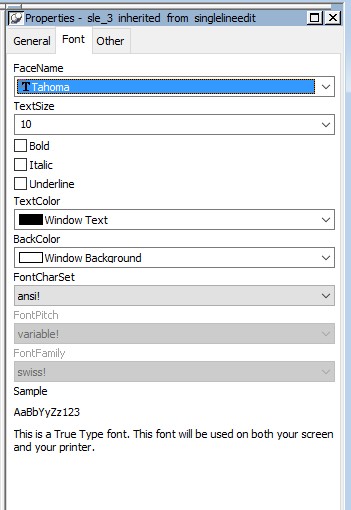
The Other tab in this case is primarily used for positional changes. Note that (nearly) all properties of controls can be manipulated from within the code of the application.
Here’s a trick to saving time when placing a like number of controls on a form. If you want to change the Font, Color, Height, etc. of a control from the defaults PB gives you when you drop it on the form, change a single copy first, select it, choose the same type of control from the menu, and then drop it on the form. The new control will have some of the same properties already assigned to the one you had selected prior to dropping it.
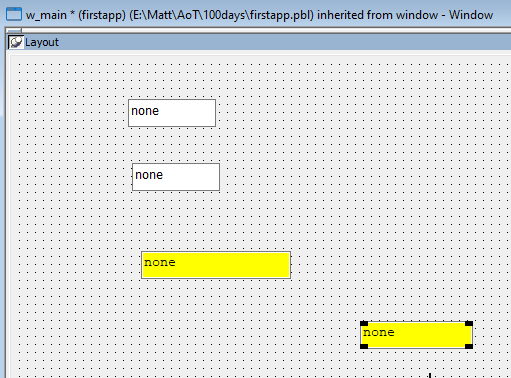
You can also achieve this by right clicking on a control and then choosing ‘duplicate’ from the options menu.
Manipulating Control Groups
You can select multiple controls and manipulate them as a group should you so desire. Simply hold the Control key and click each control. If you selected one too many simply Control click to unselect it. Once a group of controls is selected, the Properties window shows common elements amongst the group. If all items in a group are of the same type, all the properties are available. If multiple controls are selected (say, SingleLineEdit and CommandButton) then a smaller subset of properties are available.

Group Selected Properties (all Single Line Edit controls)

Group Selected Properties for SingleLineEdit and CommandButton
You can resize and position object groups by using the Positioning drop down toolbar

Remember that the first control selected in the group serves as the ‘master’; changing position and size will all be relative to the master control. In the case of spacing between objects the first two selected serve as the the ‘master’.
Now we have the fields sized and aligned. When designing a form it’s always important to designate the ‘focus flow’. By this I mean the order in which the controls gain focus as the user tabs through the form. This is set by the Tab Order property and can be displayed from the toolbar icon or menu option.
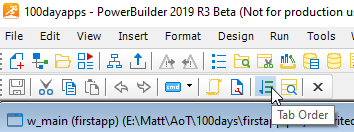

The tab order icon (or menu) acts as a ‘toggle’ into ‘tab setting mode’ which basically means you can’t do anything other than set the tab order until you toggle back out.
In the case of the form I’ve set up, my tab order is slightly off. The tab stops themselves are displayed in the upper left corner of the control (in red). The actual order on the form is hightlighted by the arrows which have been added to show the actual flow; not the most intuitive.
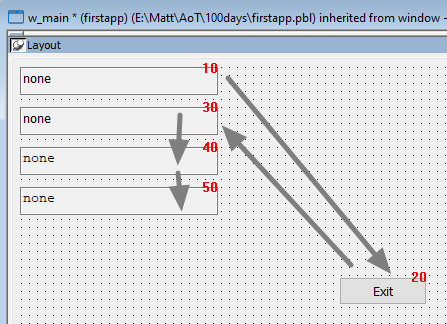
Clicking on the number of a specified tab order allows it to be changed. To ‘insert’ a control between others on a form, simply use a number between the tab numbers of the controls. Once you toggle out of tab order the tab numbers themselves are recalculated into multiples of ten.
Setting the tab order of the Exit button so it is last.

Now if you run the application, the window opens and focus is set on the first SLE field. Pressing the tab key moves the focus to the subsequent fields and then the Exit button before starting over again at the initial field.
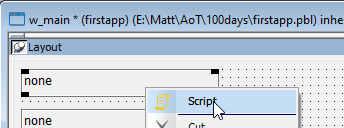
Let’s put some functionality behind the SLE fields. Right Click on the first SLE and choose Script
This takes you into the Powerscript Editor for the Event methods of the control. Clicking on the down arrow as shown will list all of the events for this particular control. The script currently in ‘edit’ mode is highlighted.
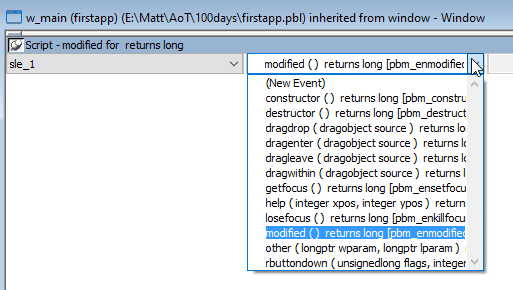
In this case the ‘modified’ event is in edit mode. In this event script we will place code to change the background color of the field to indicate that it’s contents have been changed. The following will do this: Backcolor = RGB(255,255,0). RGB is a system function which calculates the long value of a color based on it’s red, green, and blue component values (integers from 0 to 255). In this case we are changing the value to yellow.
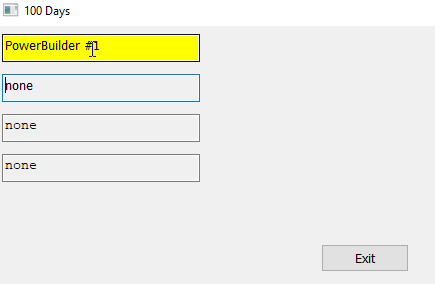
Now run the application, change the the contents of the first SLE, and then tab out of the field.

Leave a Reply