100 Days of PowerBuilder – Day 1: Creating a Workspace
This is part of my project ‘100 Days of PowerBuilder’ which is a series of discussions focused on basic PowerBuilder development.
Note: This article is written with examples created in PowerBuilder version 12.5. The same steps would be almost identical with any version going back to 9.
When you first install Powerbuilder Classic and the tool is launched, you are presented with a ‘Welcome to PowerBuilder’ dialog window asking you to tell the application what you want to do.
Initially the infomation presented won’t mean much to a beginning PB user but what PowerBuilder calls a ‘workspace’ roughly corresponds to a ‘Project’ in the Visual Studio / .Net world. Within a workspace is a target which you can think of as an application or object / component collection. You may have many targets inside a workspace but generally there is a one to one relationship between them.
For this exercise lets just start things off fresh and pick the Create new workspace and target selection.
Here is a standard Windows File create type dialog allowing you to choose where the workspace file will be created. As you can see the file is created with the extension ‘.PBW’. Once you create this the target creation response window appears.
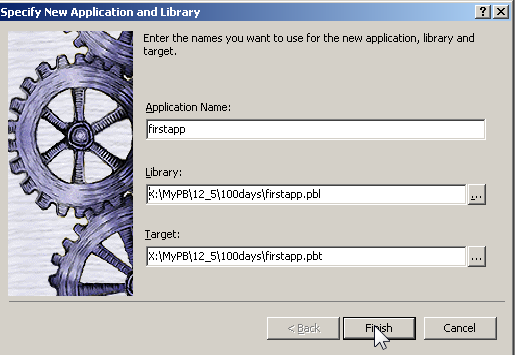
For our purposes we are creating a new application so highlight the appropriate icon and click ‘OK’. You now are presented with a window to create the Application, Library file, and Target file. Notice my initial choice for an Application Name – ‘first’ – and the error message on the lower left. Apparently you cannot create an app called ‘first’ so I changed it to ‘firstapp’.
The default is to create the target and application files in the same location but this can be changed is desired. I recommend using the same location for the target and application files to keep things simple and easy to keep track of.
After this process is complete you have the shell of the application completed. There are now three main files created by PB – the workspace (.PBW), the target (.PBT), and the application library (.PBL). The first two are text files and can be viewed by any editor. The PBL or ‘pibble’ file is binary and makes up the core of your PB application. PBL (PowerBuilder Library) files contain all of the objects and code making up an application while in the PB Integrated Development Envionment.
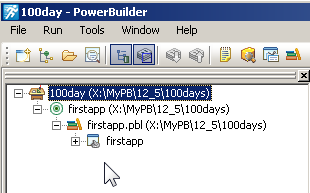
After creating the application you can view the newly created files and objects in the System Tree (Window – System Tree menu option). At the base is the workspace with all associated targets underneath (we only have one). Opening the firstapp target displays all the libraries (pibbles) – at this time we only have the initial one created by the wizard. Opening the firstapp.pbl on the treeview shows the objects contained within it – initially there is only the application object (firstapp in our example).
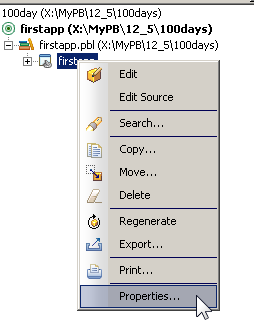
At this time you can set some of the initial defaults used when coding the application. If you rightclick on the application object you get a menu with various options – choose Properties.
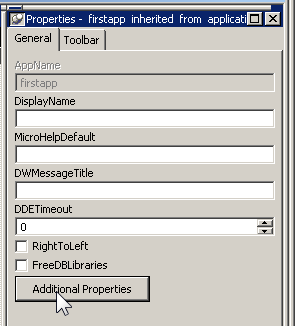
Now select ‘Additional Properties’.
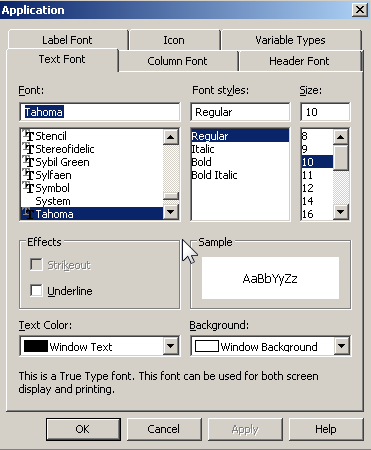
Within the Application Properties dialog you can set the default font to be used as you create and code objects within the application. These are set on the Text, Column, Header, and Label Font tabs. The Icon tab is where you set the icon to be used when the application runs (in the upper left corner of windows). The Variable Types are used to set user defined global variables which will be discussed at a later time.


